In February we made 6 projects with, as you can see, a variety of themes.
FRONT FOLDER POCKET CARD TUT
Print off the worksheets, you'll also need
8 x 8 inch base card,
1 and a bit pieces of A4 pearl card
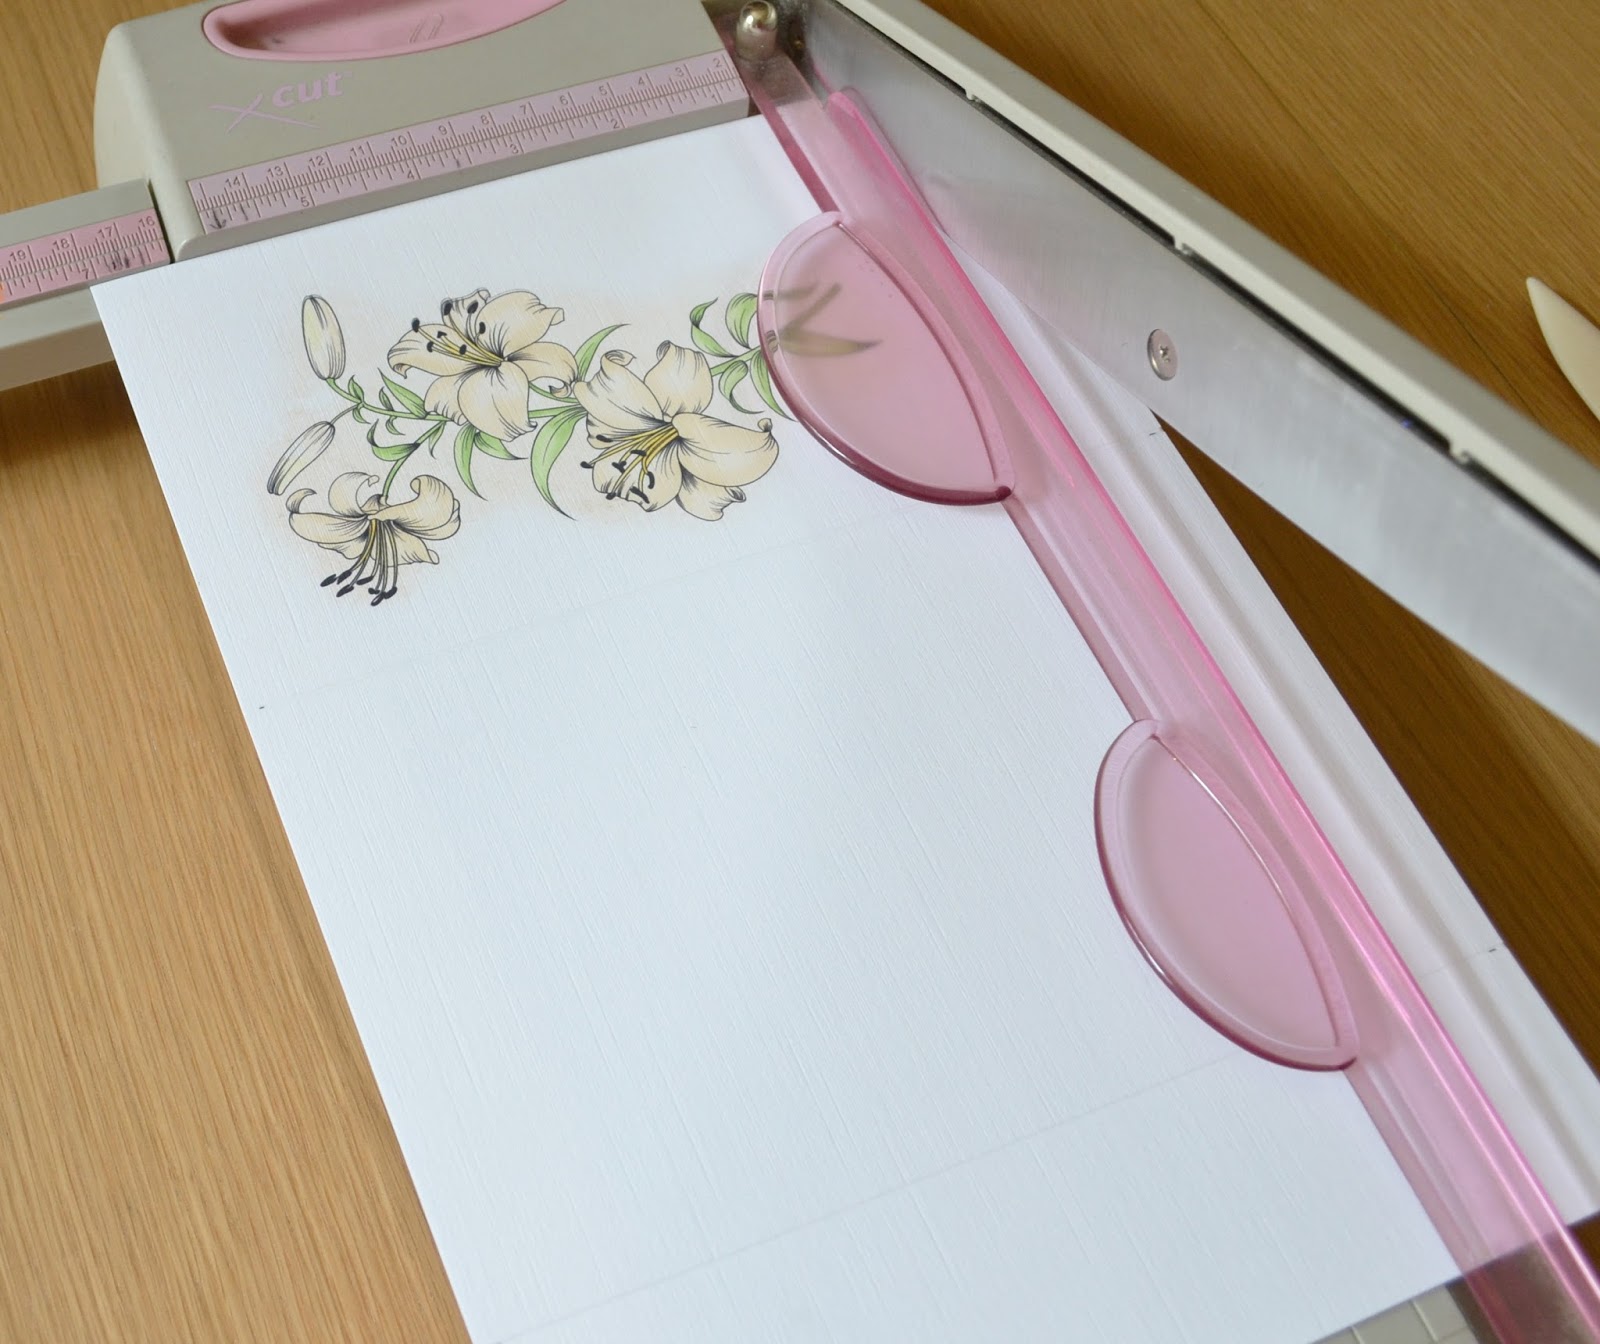
Cut the pearl card to 19.5cm square
From the remaining pearl card cut a strip for an edge,
I've used a edger die to give if some fancy :)
Cut 2 squares of 10cm from the pearl card
Mark the centre and along 1 edge mark out 2cm left and right of the centre mark.
Along the opposite edge mark out 1cm left and right, this is to give the angled bracket
that will hold the folder pocket in place. Repeat for the other piece of card.
This next bit is much easier on a houghie board.
Lining up in any score line the bottom and top marks (not the centre mark) score
and while the piece of card is still in place score again at 1cm on the outside of the original score line
Repeat for the other side, cut off the excess card on the outside of the outside score line
Fold and crease the score lines like above.
Apply DST to the outer edges and trim at an angle the top
Add an extra piece of DST to pull together the bottom to create that folder hindge
like this
and attach to the front of the pocket.
Although it's not done in this pic apply DST along the bottom edge of the pocket also
and attach to the front of your card.
ENVELOPE FRONT CARD TUT
Print off the pieces. You'll also need
2 pieces of card (I used pearl card)
2 pieces of paper (I used double sided pearl paper)
1 and a half sheets of backing card (I used silver glitter card)
1 metre of ribbon
A cross die or image
Theses are the tools I used.
The embossing folder is by Crafts Too
Presscut Die - Cross
The smaller of the 3 square scalloped die by Go Kreate
Cut just inside the lines of the writings images.
I embossed the 2 pieces of pearl paper and cut them out using the square scalloped die.
Fold the squares diagonally with the embossed side on the outside (as shown above)
Trim a sliver off the folded edge to create 2 pieces
like so. I've cut 1 of my pieces of pearl card to matt onto my base card but first I need to attach the
envelope flaps. Score each flap along the long edge at 1cm, fold & crease and attach DST
to the underneath part of the fold, repeat for the other 3. Trim the corners at an angle as shwon above.
Centralising the flaps attach them to each side of the pearl piece of card (as above)
until you have this
Because I used paper I've added card circles I punched out to strengthen
the bottom and 2 sides flaps where the ribbon will go then I punched holes.
Before you start on the front attach the back pieces
I've pulled a short amount of the ribbon through the punched holes.
I'm only wanting to pull the flaps together and secure, cut off the rest of the ribbon
as this will create the bow,
Make up the pocket piece
BACK TO SCHOOL CARD - BUNTING TUT
I only need to show you how to out the bunting strip together as the rest of
the card is simple matt & layering. Print off the worksheets, you'll also need an A4 piece of card & a base card of 7 x 7 inches.
Cut your A4 piece of card to create a 16.5cm square then cut the red dotty backing to 16cm square.
Also from the A4 piece of card cut a strip approx. 2cm x the width of the A4 card (21cm)
Wrap around the front of your matting pieces and crease at the edges (as shown above)
Add DST to the reverse of the strip on the long run and the 2 short runs (as above)
and start to layer your bunting pieces as shwon above
Once complete add another pieces of DST
and attach to the front of your matting pieces as above
then continue to build up your card :)