Sunday, 12 June 2016

WENDY'S WORKSHOP APRIL 2016

WENDY'S WORKSHOP APRIL 2016


There are actually 6 projects on this CD 

FAVOUR FRONT CARD TUT


I saw these gorgeous laser cut favours at my local Dunelm store
and thought they would look lovely on a card :)


Here's a close up before I trim them. I basically need to have flaps
at both sides and along the bottom to attach them to my paper


so I trimmed them down at the bottom to remove the excess but left as much
as I could after the perforated line so I could attach them


like this.


They were also too wide so I cut off 1 of the squares again making sure
I left as much as I could after the perforated line so I could attach them 


Inked up a little on the main side inside the squares


flipped it over to ink up the triangles


Attached some DST to the flaps and attach it to my main piece of paper


like so (back view)


And here it is ready to mount onto my layer which is then all mounted onto the
8x8 inch base card. Add the tag and decorate as you wish

Front


Back

WENDY'S WORKSHOP MARCH 2016

WENDY'S WORKSHOP MARCH 2016


THE DRESS CARD TUT


I printed off my worksheets and gathered up the dies and embossing folder
I wanted to use.


Attach foam pads around the cut out oval on the wrong side


and attach the sentiment to it


Matt & layer your paper choice and create the base card using the
TIED TENT TECHNIQUE


The back

SYMPATHY CARD TUT


I'm using the smallest Go Kreate die from this set.
Print off the worksheets


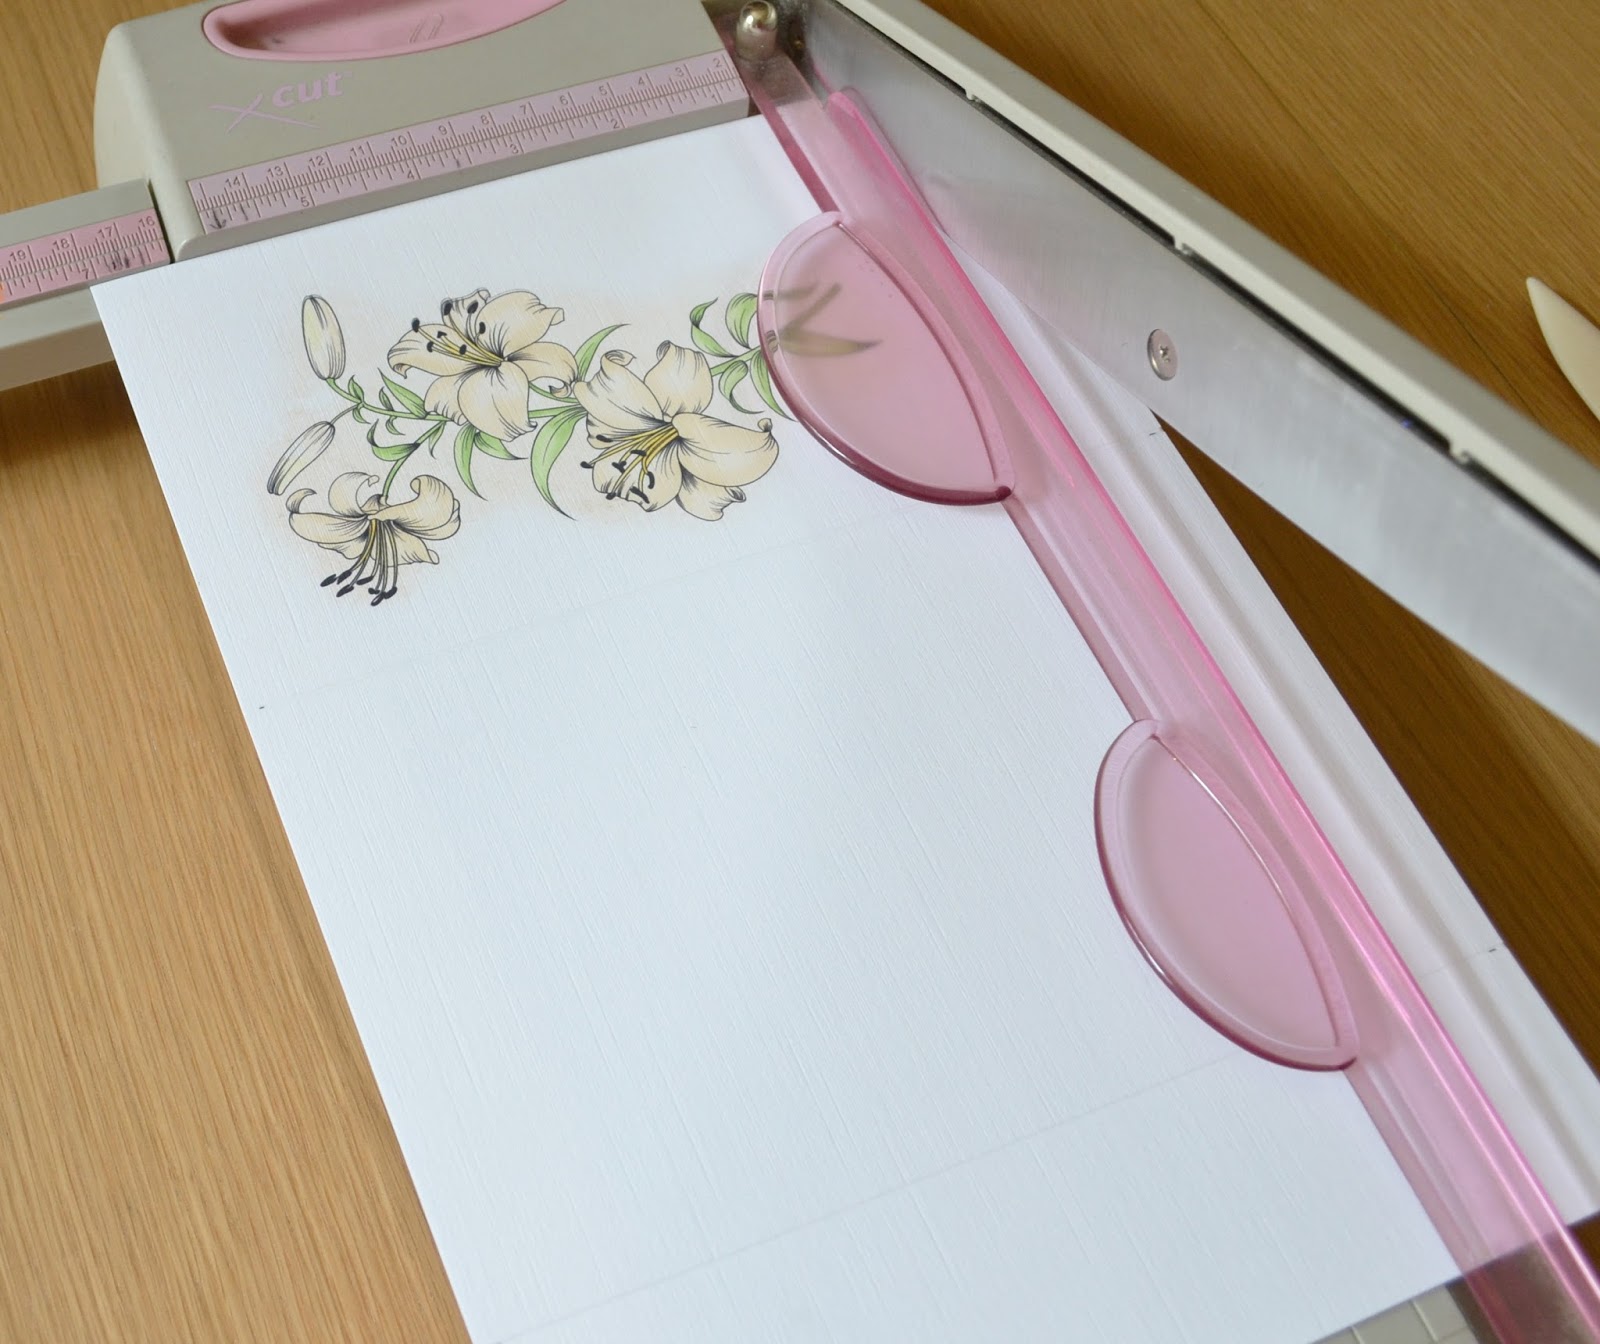
First score from the non printed end at 5cm & 18cm


Trim down the height of the card to 17.78cm (7inches)


so you have this


Line up the die so it's evenly distributed on a short edge and making
sure that the long edges are OVER the die so as not to
cut into it, repeat for the other end. 


So you have this fancy edged front card.


Punch 2 holes as shown above and apply a strip of DST along the back


You'll need approx. 1 metre of ribbon, stick the ribbon to the DST
and thread through the holes as shown above.


Matt and layer the sentiment onto a piece of card and attach
inside the main card.

Create a base card using the TIED TENT TECHNIQUE 


and matt and layer your choice of base papers/card
then attach the fancy edged front card to that.
Mount everything onto your base card


and this is the back view

Monday, 7 March 2016

HOW TO RESIZE LONG CARDS IN CRAFT ARTIST


Here's the worksheet, you'll also need an A4 piece of card to create the base card


Trim around the edges of the green backing and the wording one 


Score your A4 card in half lengthways, fold & crease, this will make your base card in tent fold.


Trim down the base card to fit your green backing


Using the Tent Tied Technique on the base card you're now ready to
put together, before that though I inked around the edges.
Next I will cut out my letters for decoupage and decorate the card :)


and now you can see the diffrence in the sizes :)
The 1 on the left is the default size on the DVD and you'll need a 12 long x 6 inch base card for that which are available from Anna Marie Designs
and the 1 on the right is the 1 I've just re-sized in the video.